

GUIDE: HOW TO USE THE LEARNINGDECK EXAM MANAGER
Welcome to the LearningDeck Exam Manager administrator guide. This document will walk you through the process of setting up and managing digital examinations for your institution.
1STEP 1: Connect to an External Device
Before opening the LearningDeck Exam Manager, ensure your device is connected through one of the following methods:
WiFi & Hotspot
Connect to a local WiFi network or create a hotspot
Ethernet
Connect using a physical Ethernet cable
WiFi Router
Connect via an external WiFi router
IMPORTANT NOTE:
If you have already opened the software without connecting, you can establish a connection afterward and click the reload button until your device appears in the dropdown menu.
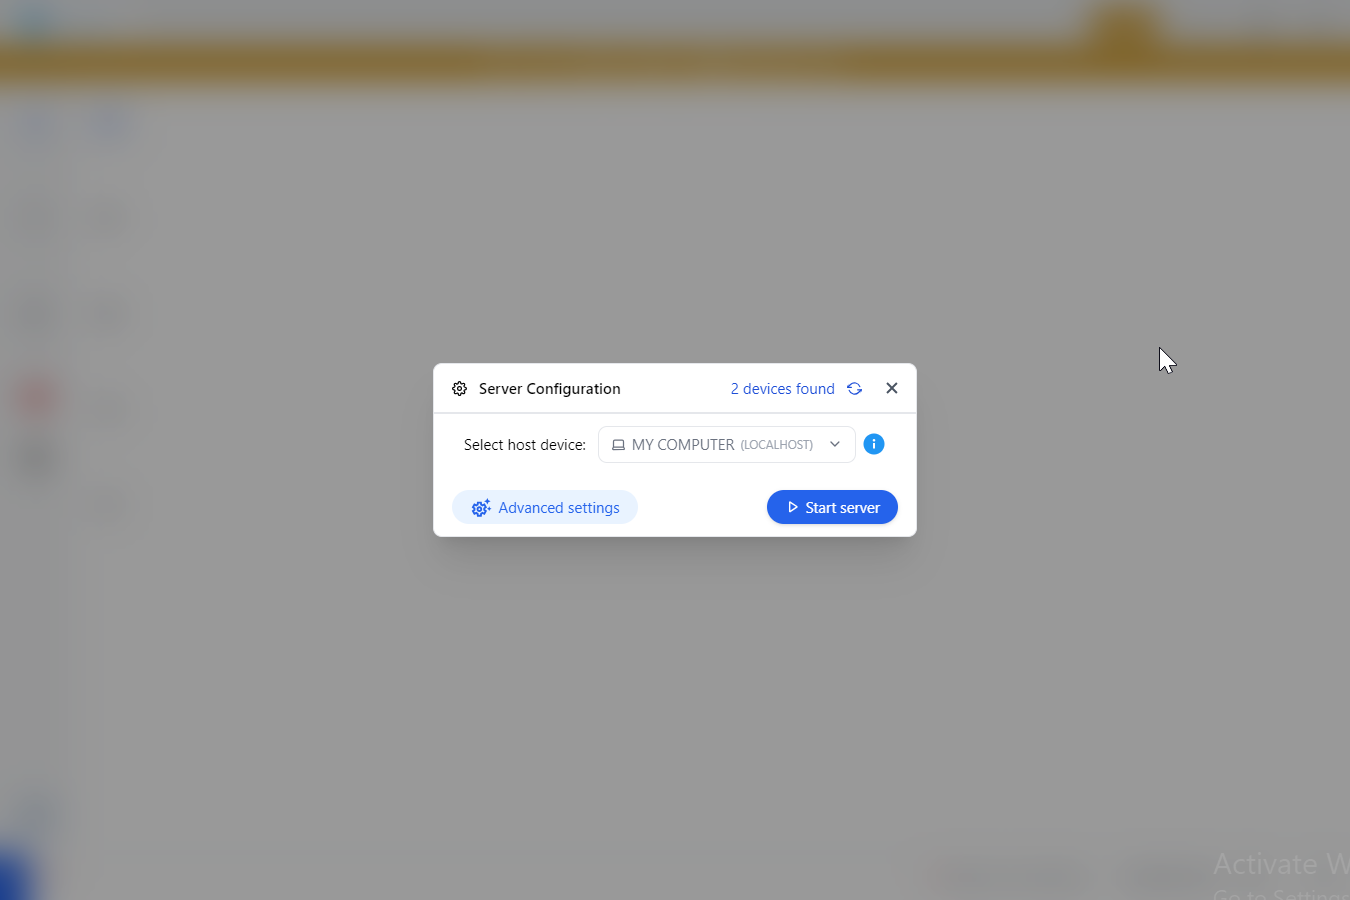
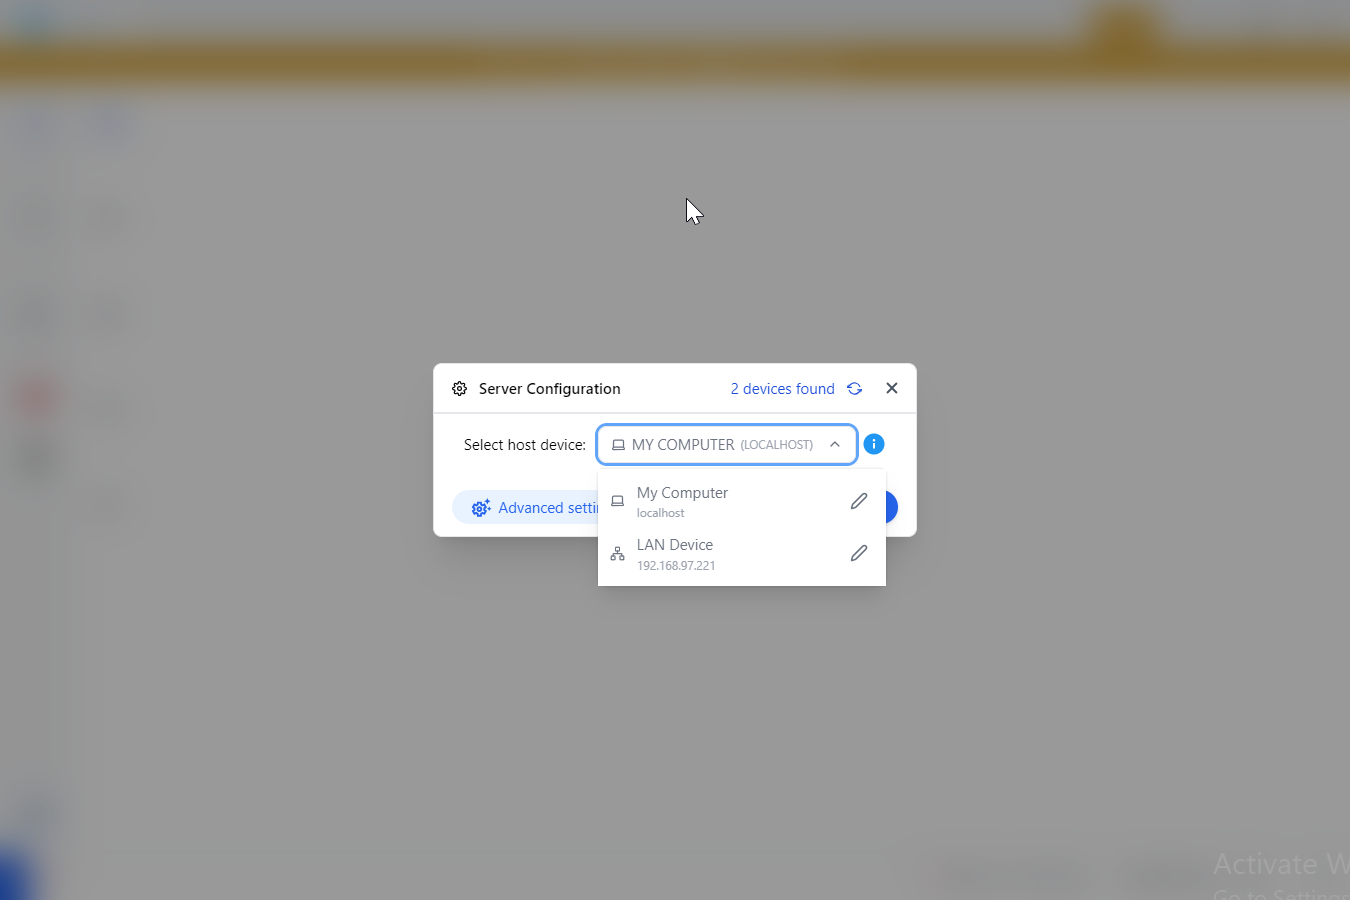
2STEP 2: Select Host Device
You will see a dialog with a dropdown menu containing the list of devices that can serve as your exam server.
IMPORTANT NOTE:
Only users connected to your host device will be able to access the examination.
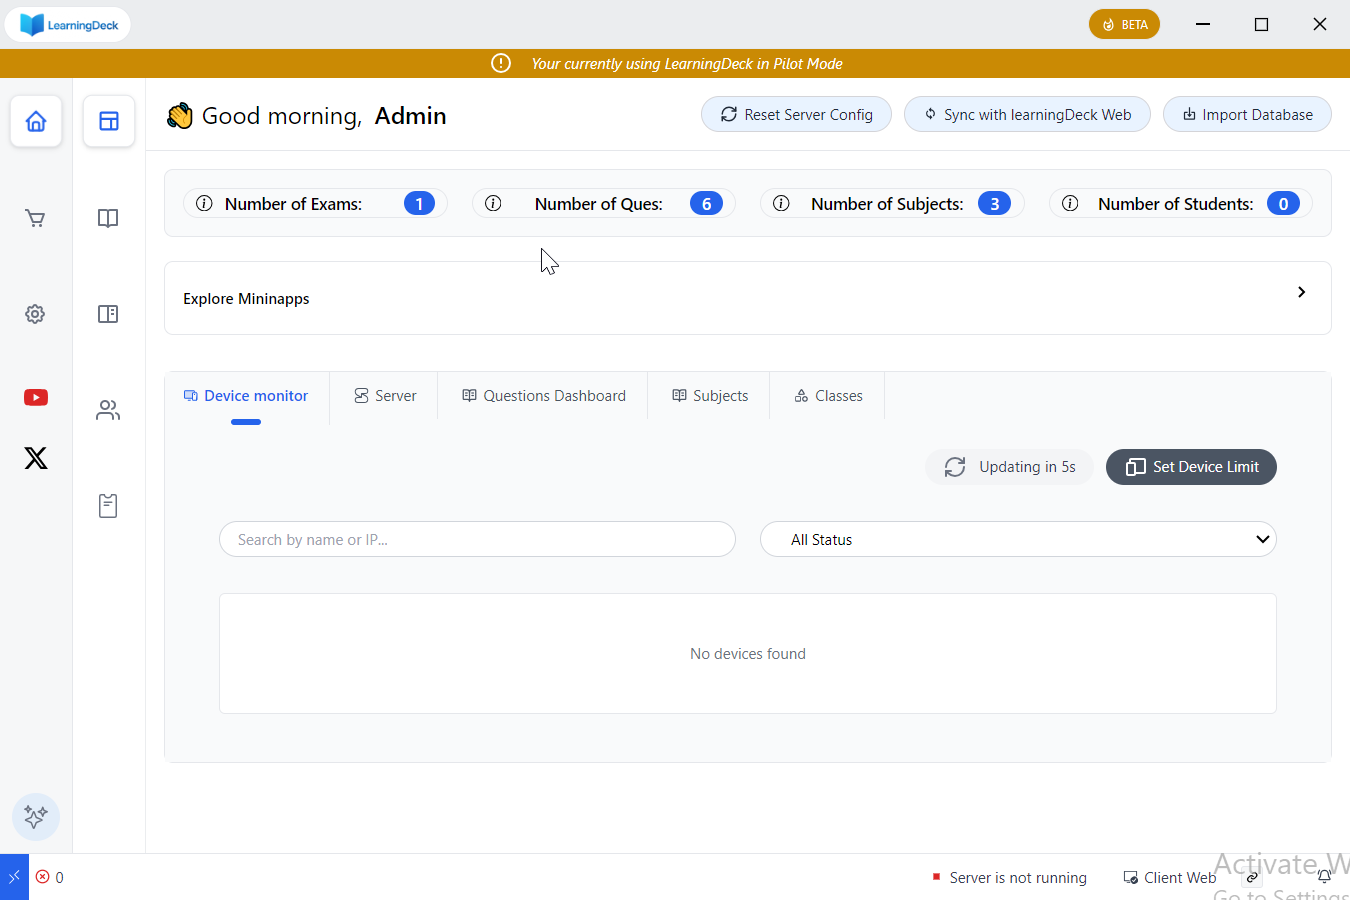
3STEP 3: Customize Your Examination
Navigate through the nested sidebar to customize various aspects of your examination:
Student Classes
Create and manage class groups
Subjects
Add and configure examination subjects
Questions
Create question banks and individual questions
Settings
Configure exam parameters and options
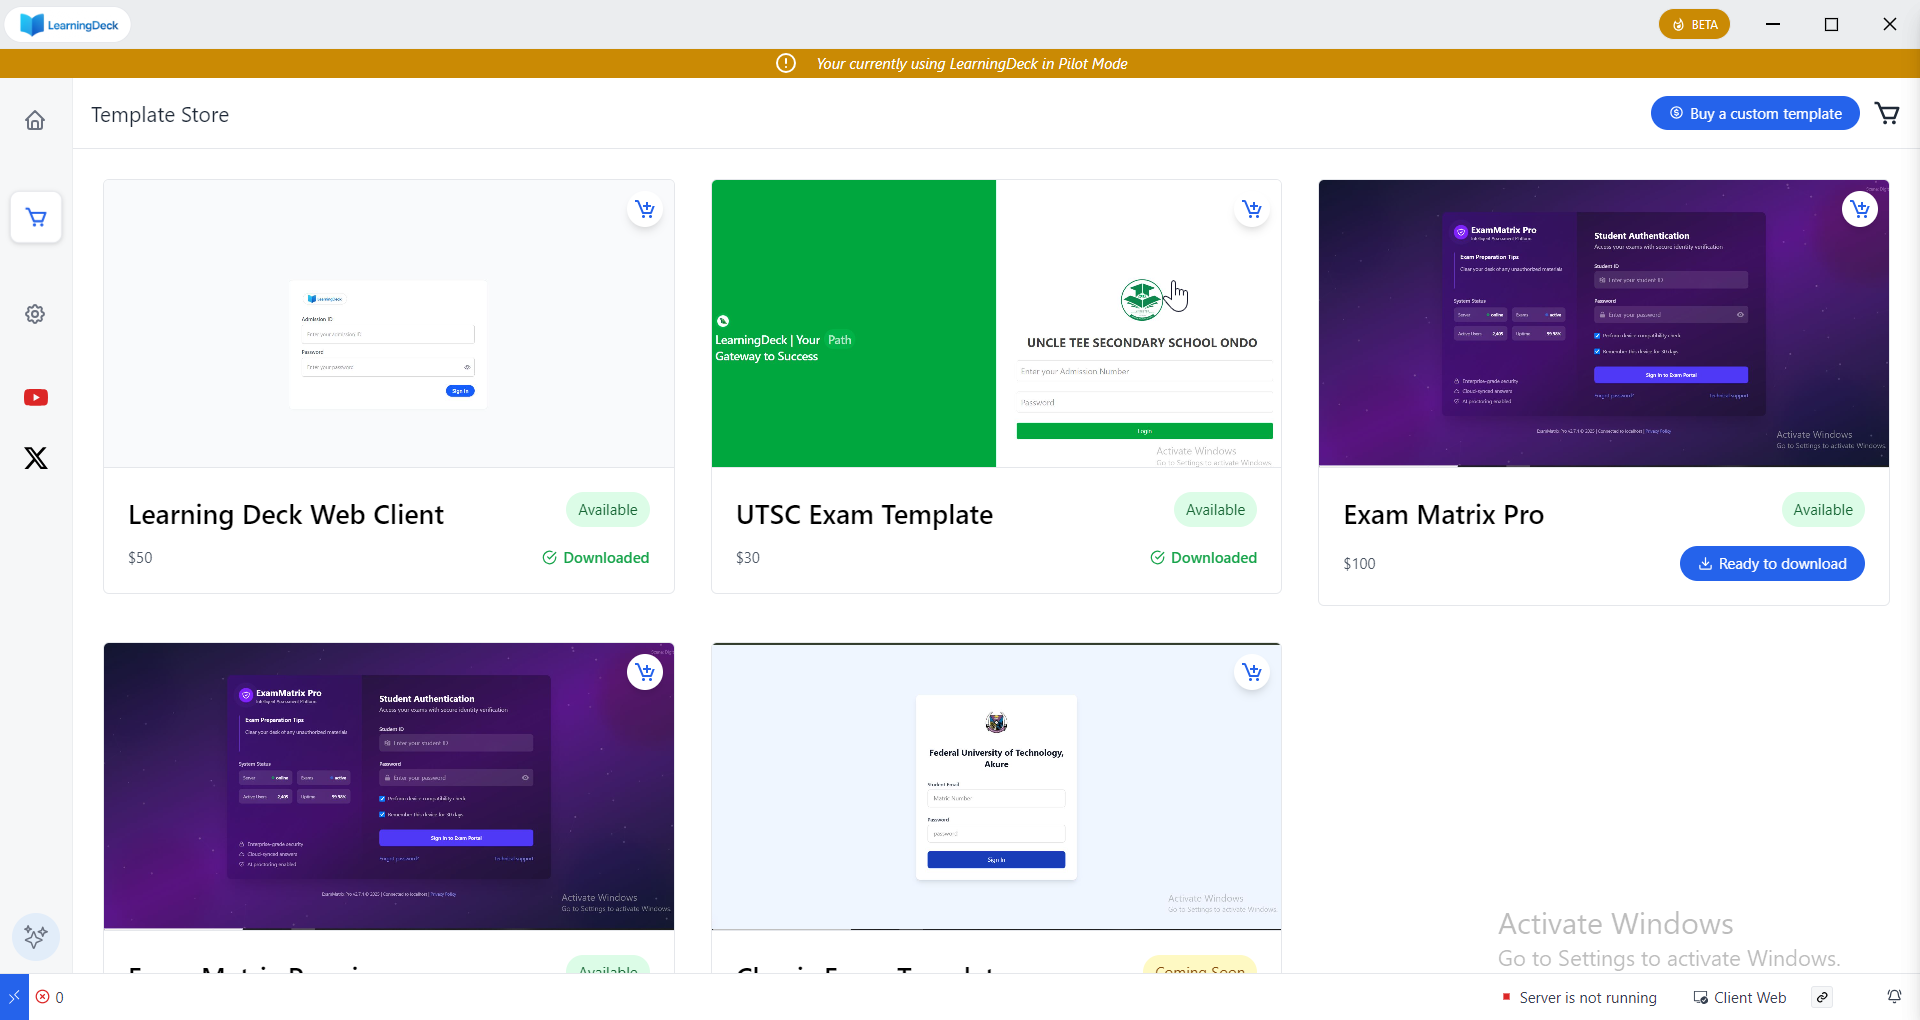
4STEP 4: Set Up Client Application
For the client application (requires internet connection):
- Open the cart icon in the primary sidebar
- Locate and select LearningDeck Web Client from the list of templates
- Download the template if you haven&apost already
- When the dialog appears, click the Serve Template button
- Click Open in Browser to access the template URL
SUCCESS:
Once the template is loaded, it can be accessed on any device connected to the Host device.
Need Additional Help?
If you encounter any issues during setup or have questions about using LearningDeck Exam Manager, please contact our support team: